
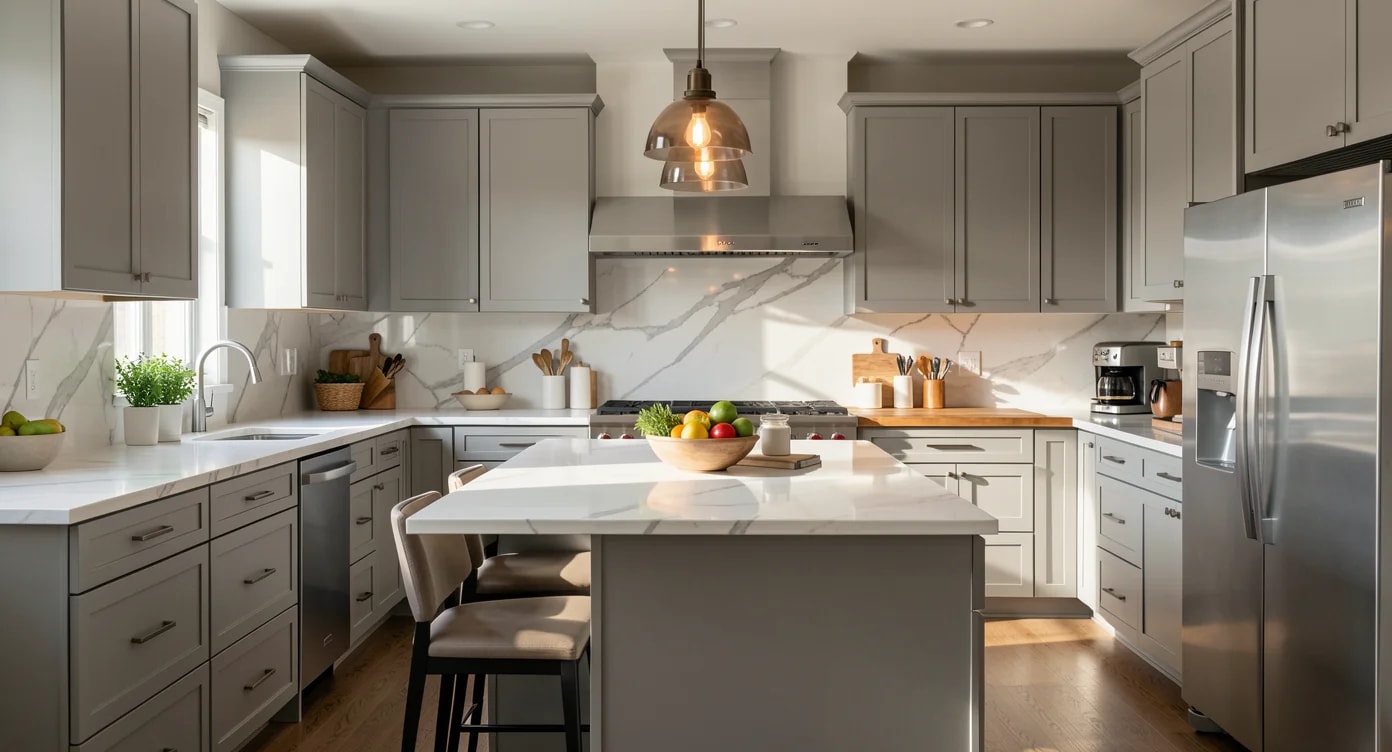
A more appealing kitchen doesn’t always require a full remodel. For Lawrenceville sellers, the best starting point is often a combination of repairs, thoughtful updates, and a budget informed by comparable homes. Here’s how to decide where to spend—and where to hold back—before putting a home on the market.
Start With the Kitchen You Have
Walk into your kitchen as though you’re seeing it for the first time. Do the drawers open smoothly? Is the lighting bright enough to make the counters useful? Does the room feel clean and cohesive, or do small maintenance issues compete for attention? These observations can help you distinguish a kitchen that needs a refresh from one that needs more substantial work.
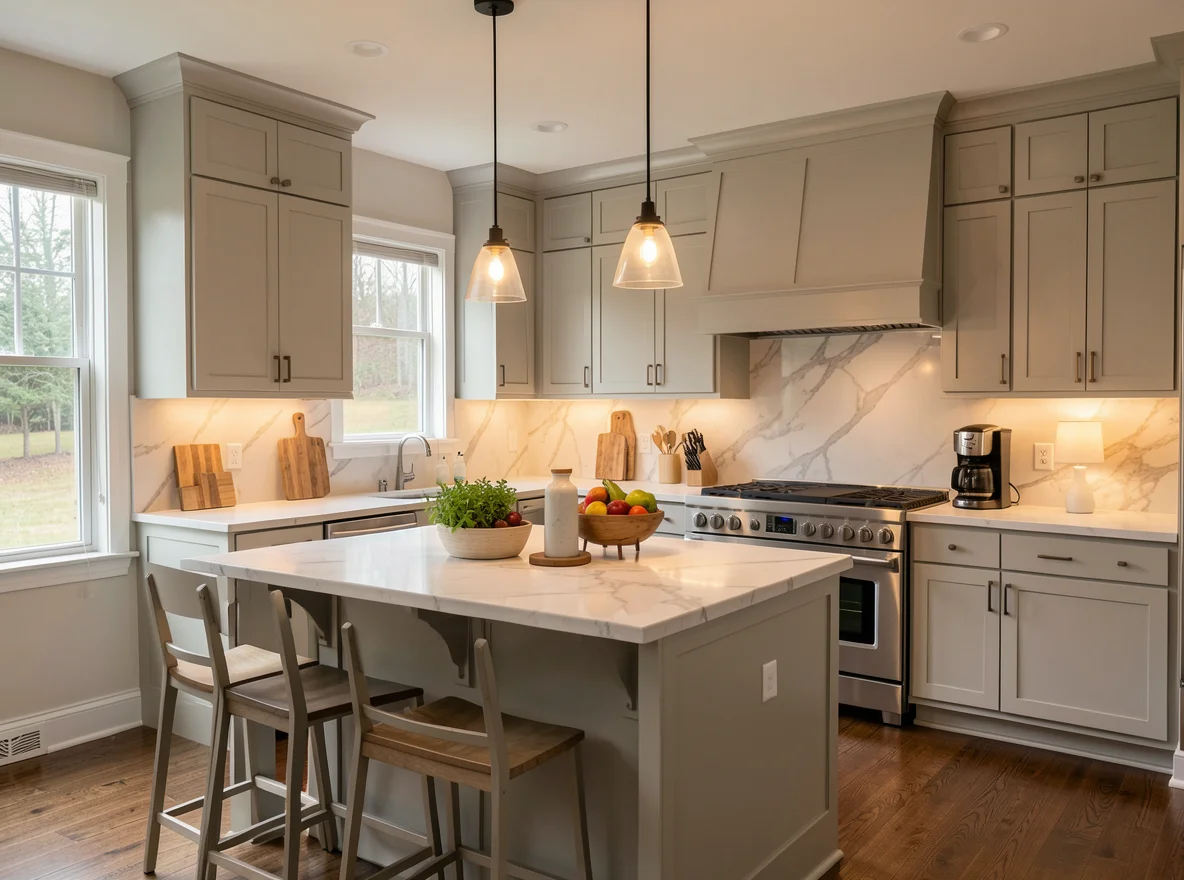
Begin with an honest assessment of condition and function. A dated finish may be less pressing than a leaking faucet, damaged flooring, or a cabinet door that won’t close. Addressing visible problems helps the room show its best and may prevent buyers from wondering what else needs attention. It also gives you a clearer picture of what remains in your budget for cosmetic improvements.
Before choosing materials, look at recently sold homes with similar size, condition, and location, as well as current competition. Listing photos show how other kitchens are presented, but asking prices alone don’t establish what an upgrade will return. An agent can help you interpret comparable sales and consider whether your proposed improvements fit the surrounding market.
A kitchen refresh and a full remodel solve different problems. Price both against the home’s condition and comparable sales before committing to either.
Resale appeal is not the same as a guaranteed return on investment. Costs, buyer preferences, timing, and the condition of the rest of the property all matter. Choose improvements you can afford and, if you plan to stay for a while, ones you’ll enjoy using in the meantime.
Fix the Details Buyers Can See and Use
A thorough cleaning is a practical first step: degrease cabinet fronts, clean grout, remove buildup around the sink, and clear the range hood filter. Then make a repair list. Dripping plumbing, loose handles, chipped caulk, damaged outlets, and sticking drawers can make an otherwise attractive kitchen feel neglected.
Check beneath the sink and around appliances for signs of moisture. Repair the source of any leak rather than covering it with new finishes, and document professional work when appropriate. If you uncover water damage, electrical concerns, or another issue beyond your expertise, consult a qualified professional. Sellers should also discuss applicable disclosure obligations with their agent or attorney.
Think about the experience of using the room, too. Replace burned-out bulbs, adjust cabinet hinges, and make sure appliances operate as expected. These small tasks may not transform the design, but they help the kitchen feel cared for. For buyers evaluating a home, the same checklist can reveal which improvements are immediate necessities and which can wait.
Refresh Cabinets Before Replacing Them
Cabinetry occupies a large share of the visual space in most kitchens. If the boxes are sound and the layout works, cleaning, refinishing, or professionally painting the existing cabinets may create a noticeable change without replacing everything. New knobs and pulls can complete the update, especially when the finish coordinates with the faucet and lighting.
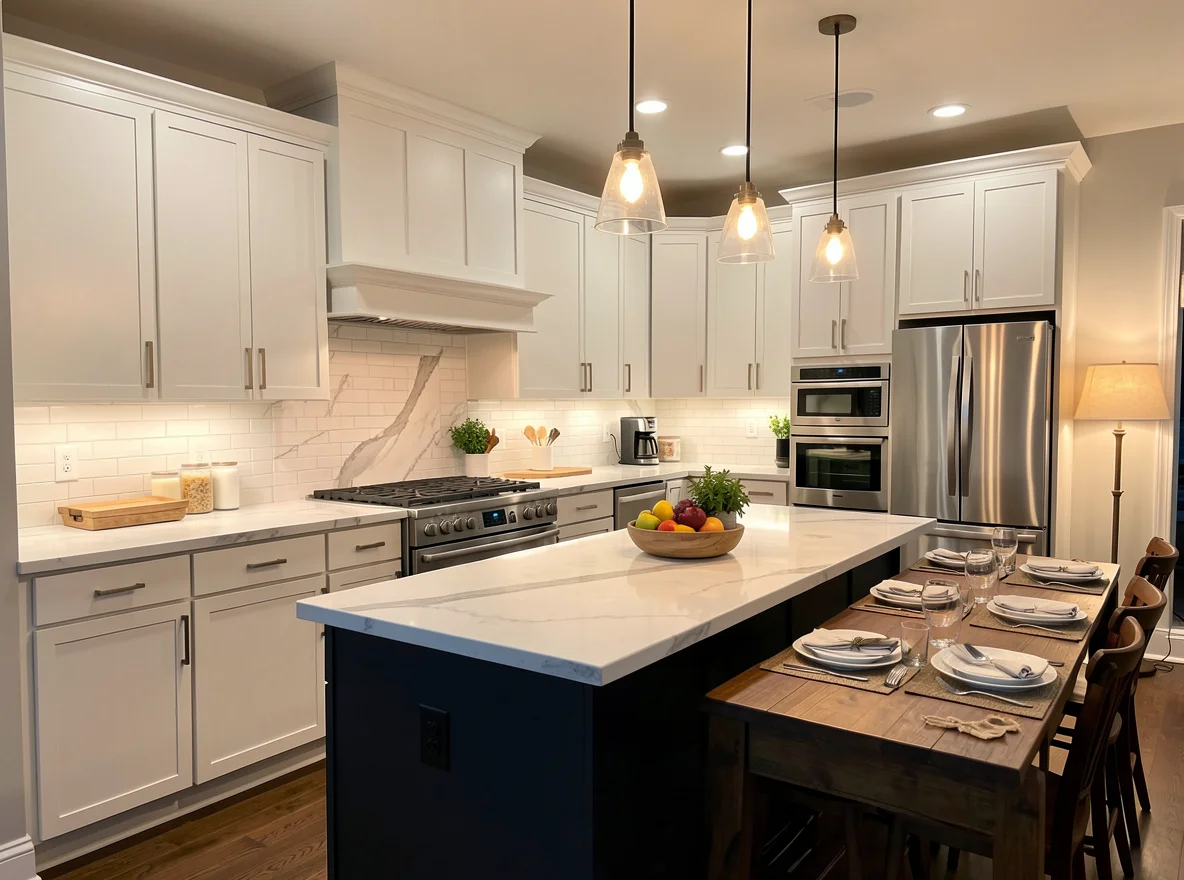
Preparation matters more than a quick coat of paint. Grease, peeling finishes, and worn surfaces need proper attention for a durable result. Ask contractors what their process includes, from cleaning and sanding to priming and curing. If you’re considering a do-it-yourself project, be realistic about the time, ventilation, and workspace required.
Replacement deserves consideration when cabinets are structurally damaged or the storage arrangement is genuinely difficult to use. But moving walls, plumbing, or appliances can increase the scope quickly. Obtain itemized estimates and compare the added expense with a simpler plan that preserves the existing layout.
For finishes, a restrained palette can make the room easier for buyers to picture with their own belongings. That doesn’t mean every kitchen must look identical. A consistent combination of cabinet color, hardware, counters, and backsplash usually feels more intentional than several unrelated updates.
Choose Surfaces, Lighting, and Appliances With Purpose
Countertops get close attention because they’re both a work surface and a prominent design feature. If yours are in good condition, a deep clean and minor professional repair may be enough. If replacement is warranted, compare materials for installed cost, maintenance, durability, and appearance—not just the sample you see in a showroom.
A simple backsplash can tie the room together, but it should complement the counters rather than compete with them. Keep the overall project in proportion: installing premium surfaces while leaving damaged cabinets or unresolved leaks can make the remaining problems more noticeable. Ask for samples and view them in the kitchen’s natural and artificial light before ordering.
Good lighting makes preparation areas easier to use and helps the room photograph well. Consider whether existing fixtures provide enough general light and whether under-cabinet lighting would improve darker counters. Electrical changes should be handled by an appropriately qualified professional. Likewise, replace appliances because they are unreliable, visibly worn, or inconsistent with the rest of the kitchen—not simply because a newer model is available.
Compare the full installed cost of an upgrade, including removal, labor, electrical or plumbing work, and any finish repairs—not just the price of the material.
Build a Budget Around Your Selling Timeline
Separate your list into three categories: necessary repairs, presentation improvements, and larger optional projects. Request written estimates that specify materials, labor, timing, payment terms, and who handles permits. Leave room for unexpected issues, particularly when work involves older plumbing, wiring, or surfaces that can’t be fully evaluated until the project begins.
If a sale is approaching, ask contractors about lead times for materials and completion. A modest project finished cleanly before photography may be more useful than an ambitious renovation that leaves the kitchen unfinished during showings. Confirm permit requirements with the appropriate local jurisdiction before work begins; requirements depend on the property’s location and the project’s scope.
Keep invoices, warranties, and details of completed work together. They can help you explain what was updated and when, while also giving you a record of your spending. Avoid assuming that every dollar invested will be recovered at closing: the value of an improvement depends on the property and the market when you sell.
Make the Final Plan Fit the Home
Once repairs are complete, prepare the kitchen for photos and visits with a final clean and a little breathing room on the counters. Keep useful features visible, open blinds where appropriate, and remove excess personal items without making the room feel artificial. The goal is to show how the space works, not to disguise its condition.
A local pricing conversation can help you decide whether another upgrade is worth considering or whether it’s time to list. Compare the likely cost and disruption with the condition of competing properties, then choose the improvements that make sense for your budget and plans.
A successful kitchen update is often a series of well-chosen decisions rather than one dramatic transformation. Start with maintenance, improve the features buyers will notice and use, and let the home’s condition and local comparisons guide the rest.